How to Print QR Code Stickers (So They Scan Reliably)
For reliable scanning, a QR code sticker should be sized for the scan distance and printed with crisp, high-contrast edges plus a proper quiet zone. A common rule of thumb is a 10:1 distance-to-code-size ratio, and a practical minimum is about 2 cm (0.8 in) square for close-range stickers, assuming clean print quality and spacing.
Learn how to print QR code stickers that scan reliably: choose the right size, keep proper contrast and borders, pick paper vs vinyl, and test before bulk printing. Follow a scanability-first workflow to generate, size, design, and print QR code stickers at home, with a label printer, or through a commercial printer. You’ll also get a quick test-and-troubleshoot checklist before you print in bulk.
A QR code is a two-dimensional barcode invented in 1994 by Masahiro Hara of Denso Wave. Today, its behavior is standardized under ISO/IEC 18004:2024. Even though phones make scanning feel effortless, print quality, sizing, and finishing choices can make the same code scan instantly, scan slowly, or fail.
TLDR: Start by locking what the QR code points to, then generate the code at the final print size so you do not blur its modules by resizing. Keep dark modules on a light background with a clear quiet zone, choose a material and finish that fits your environment, and test-scan a small batch before committing to a full run.
Before you print: what your QR code should contain
Your fastest path to reprints is changing the destination after you have already laid out a sheet of stickers. Decide what the QR code will contain first, then treat that as frozen while you work on sizing and print.
Common QR code payloads used for stickers include:
- URL (Web page, menu, product page, form).
- Plain text (Short instructions, WiFi details written out, simple ID text).
- Contact card data (Often formatted as a vCard in many generators).
Static vs dynamic matters mostly for reprints and maintenance:
- Static QR code: The encoded data is fixed. If the URL changes later, the printed stickers do not.
- Dynamic QR code: The printed code points to a redirect or short link that can be updated later. This can reduce reprints, but it depends on the system you use.
A few practical checks before you lock the content:
- Confirm the destination opens correctly on mobile, not just on a desktop.
- Avoid long, messy URLs when possible because denser codes can be harder to print cleanly.
- If the sticker might be scanned by the public, be cautious about where it sends people and avoid sending them to anything that could be mistaken for a phishing page.
Step 1: Generate the QR code at the final sticker size
QR codes are built from tiny squares called modules, plus position markers called finder patterns. If you generate a code and then scale it down later, you can blur module edges or introduce uneven module sizing. That is a common cause of slow scans and no-scans.
Generate the QR at the size you expect to print, or generate it at a larger size and place it without resizing. If you must resize, resizing up is usually safer than resizing down, but results depend on the file type and the software.
Choose an export format that fits print:
PNGis common for many QR generators and can work well if you export at a high enough resolution for your final sticker size.- This varies by tool. Some tools also offer vector formats (such as
PDFor SVG), which can keep edges sharp at different sizes.
One reliable workflow (tool-agnostic) is:
- Decide the final printed QR code size in real units (For example, 2 cm square or 1 in square).
- Choose an error correction level (More on this in the sizing section) and generate the code once you know your content.
- Export the code in a print-friendly format and keep it unchanged.
- Place the exported file into your label layout at 100% size, not scaled.
- Print a small test set and scan it before producing a full batch.
Step 2: Design rules for QR code stickers (contrast + border)
A QR code scanner needs to detect the code boundary, interpret the finder patterns, and read the grid of modules. Sticker design choices can interfere with each of those steps.
Keep contrast simple:
- Use dark modules on a light background.
- Avoid low-contrast color pairs (For example, medium gray on light gray).
- Avoid busy patterns behind the code.
Give the code room to breathe:
- Scanners expect a quiet zone around the code. The quiet zone is a clear margin with no text, no border art, and no cut lines.
- Keep layout elements (like product names or decorative borders) outside the quiet zone so the scanner can detect the edges.
Use the quiet zone consistently, even if the sticker has a visible border. If you add a decorative stroke around the code, keep it outside the quiet zone rather than replacing it.
Do QR codes need a white border around them? Not strictly white, but they do need a quiet zone around the code with a clean, light background and no competing elements. A white border is common because it provides clear separation, but any light, uniform background can work if contrast stays high.
If you want a logo in the middle, keep expectations realistic:
- A center logo can block modules and reduce scan reliability.
- Higher error correction can help tolerate some obstruction, but it also makes the code denser.
- Test-scan after every design change, especially after adding a logo, changing colors, or shrinking the code.
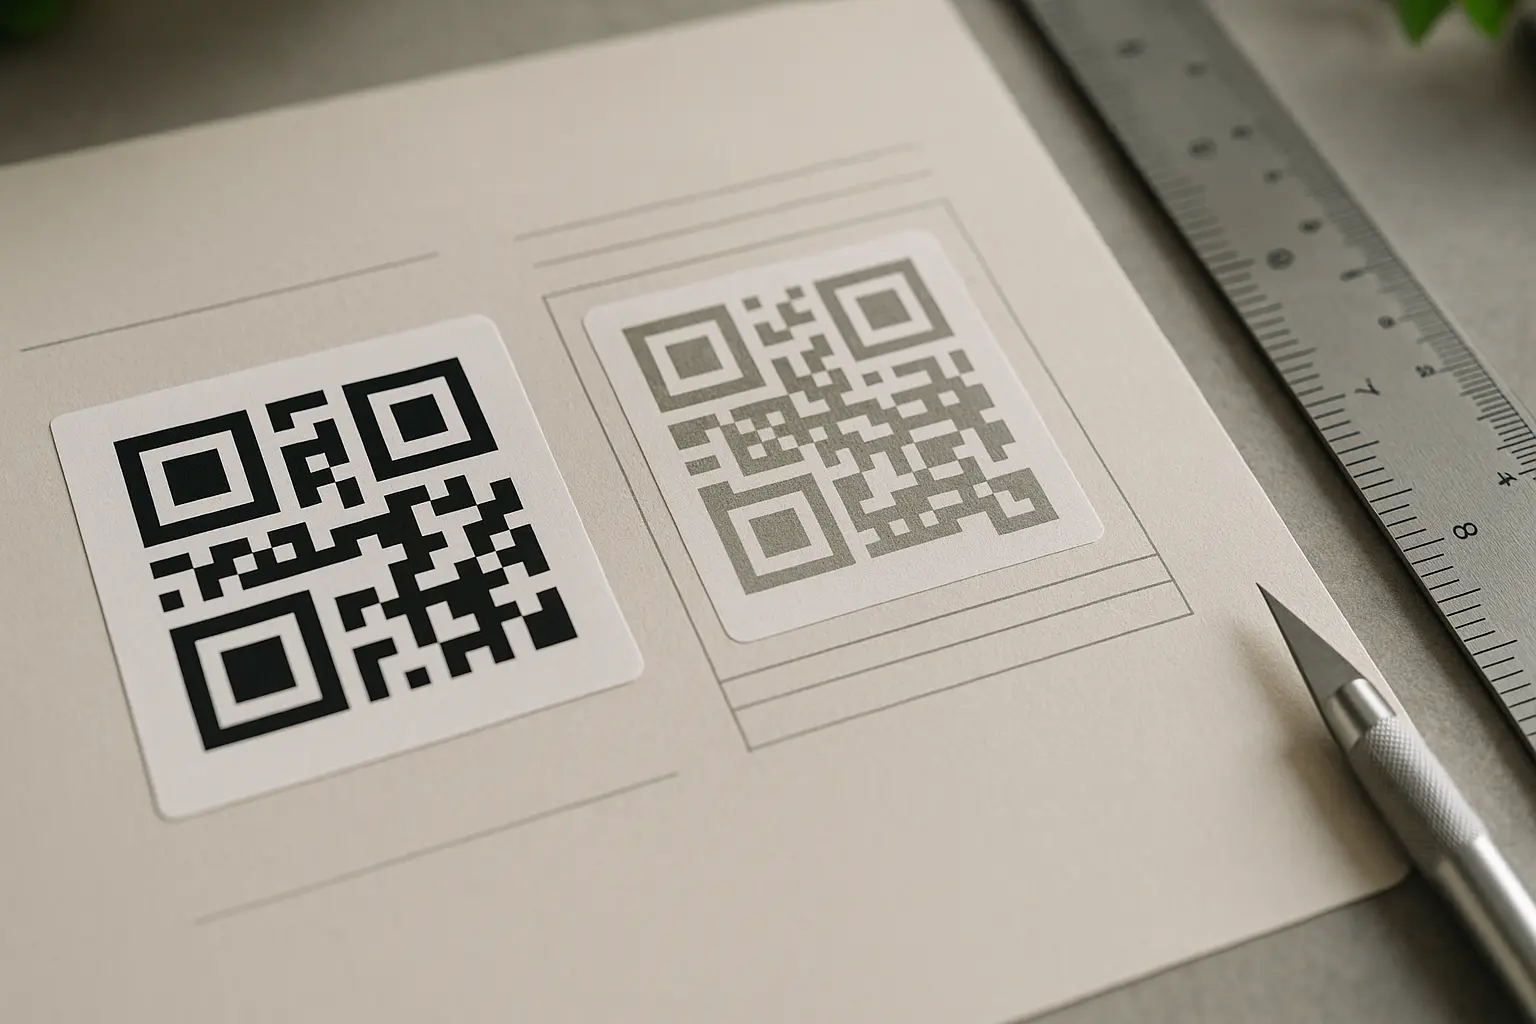
Use this quick Do and Don’t visual as a layout sanity check:
Do: Dark modules + clear quiet zone         Don’t: Crowded edge + low contrast
┌──────────────┐                           ┌──────────────┐
│              │                           │TEXTTEXTTEXTTE│
│   █ ███ █    │                           │██▒██▒██▒██▒██│
│   █  ██ █    │                           │▒██▒██▒██▒██▒█│
│              │                           │TEXTTEXTTEXTTE│
└──────────────┘                           └──────────────┘

Do: Matte finish if glare is likely        Don’t: Gloss glare across modules
[Even lighting]                             [Bright reflection stripe]
Include the mapped term naturally while you design spacing: The qr code sticker quiet zone margin requirement is less about a specific number you memorize and more about consistently leaving a clean margin so detection works even under glare, curved surfaces, or quick scanning.
Step 3: Choose the right size for scanning distance
Size is not cosmetic. It is one of the main factors behind scan speed and scan success, especially when the sticker is viewed at an angle, under glare, or on textured surfaces.
A practical rule of thumb is a 10:1 distance-to-size guideline:
- If someone scans from 20 cm away, target about a 2 cm code.
- If someone scans from 2 m away, target about a 20 cm code.
This is a guideline, not a guarantee. Lighting, camera quality, focus, and print sharpness all matter.
What size should a QR code sticker be? A common sizing guideline is a 10:1 scan distance-to-code-size ratio, and a practical minimum for close-range stickers is about 2 cm (0.8 in) square. If the code is dense or the surface is glossy or curved, increasing size improves reliability.
The mapped sizing phrase, used directly: The minimum qr code size for stickers is often discussed as about 2 cm (0.8 in) square for close-range scanning, assuming good contrast, a proper quiet zone, and clean printing.
Quick reference table: size vs scan distance (10:1 guideline)
| Expected scan distance | Rule-of-thumb QR code size |
|---|---|
| 10 cm | 1 cm |
| 20 cm | 2 cm |
| 50 cm | 5 cm |
| 1 m | 10 cm |
| 2 m | 20 cm |
| 3 m | 30 cm |
One takeaway: If scanning feels slow in real conditions, increasing the printed size is often the simplest fix.
How QR version and error correction affect printability
ISO/IEC 18004:2024 defines QR code versions from version 1 to version 40. Higher versions can store more data, but they also pack more modules into the same square area. More modules in the same printed size means smaller individual squares, which are harder to print sharply and easier to lose to ink spread or glare.
Error correction also changes density. QR codes support four error correction levels:
L(7%)M(15%)Q(25%)H(30%)
Higher error correction can help a code survive minor damage, but it can make the pattern denser. If you are fighting print limits, simplifying the payload (shorter URL or less data) can allow a less dense code at the same error correction level.
Examples tied to real sticker use:
- Small product label QR sticker (close-range scanning): Keep the payload short, use a larger printed code if the label is small, and avoid glossy finishes that throw reflections under store lighting.
- Shipping box QR label (larger label size; durability considerations): Size up for fast scanning in motion, and consider more durable materials if abrasion is likely.
- Event signage sticker (greater scan distance): Treat it like signage. Bigger is better, and glare control matters if it will be scanned in bright light.
Printing option A: Home inkjet/laser on sticker sheets
Home printing is a strong option for short runs, prototypes, and internal labels. It is also where most scan failures happen, because sticker sheets, print settings, and finishing choices can soften edges.
If you are specifically searching for how to print qr code stickers at home, the safest approach is to test one sheet, scan it under realistic lighting, then print the full batch.
Start with the right stock. Many people print qr code stickers on label sheets that match common paper sizes like 8.5×11. Use a template or layout that matches the sheet so the code does not land on gaps or cut lines.
This varies by printer and driver, but home guidance often references a baseline of at least 300 dpi print quality for crisp edges. The bigger point is to avoid fuzzy edges and ink spread.
Include the mapped phrase naturally: The best printer settings for qr code stickers are usually the ones that produce the darkest blacks and the sharpest edges without smearing. In many drivers, that means higher quality, correct media type, and disabling scaling options that resample the image.
Also include the mapped device phrase naturally: To print qr code stickers with inkjet printer, pay extra attention to drying time and smudge resistance, especially on glossy sticker sheets.
Inkjet printer vs laser printer notes:
- Inkjet printer: Can smear on some coated stocks. Let sheets dry before handling.
- Laser printer: Often produces crisp edges on compatible label sheets, but heat can affect some adhesives and materials.
Matte vs glossy at home:
- Matte finishes reduce glare and are often easier to scan under bright overhead lights.
- Glossy finishes can look sharp, but glare can wash out finder patterns and modules at certain angles.
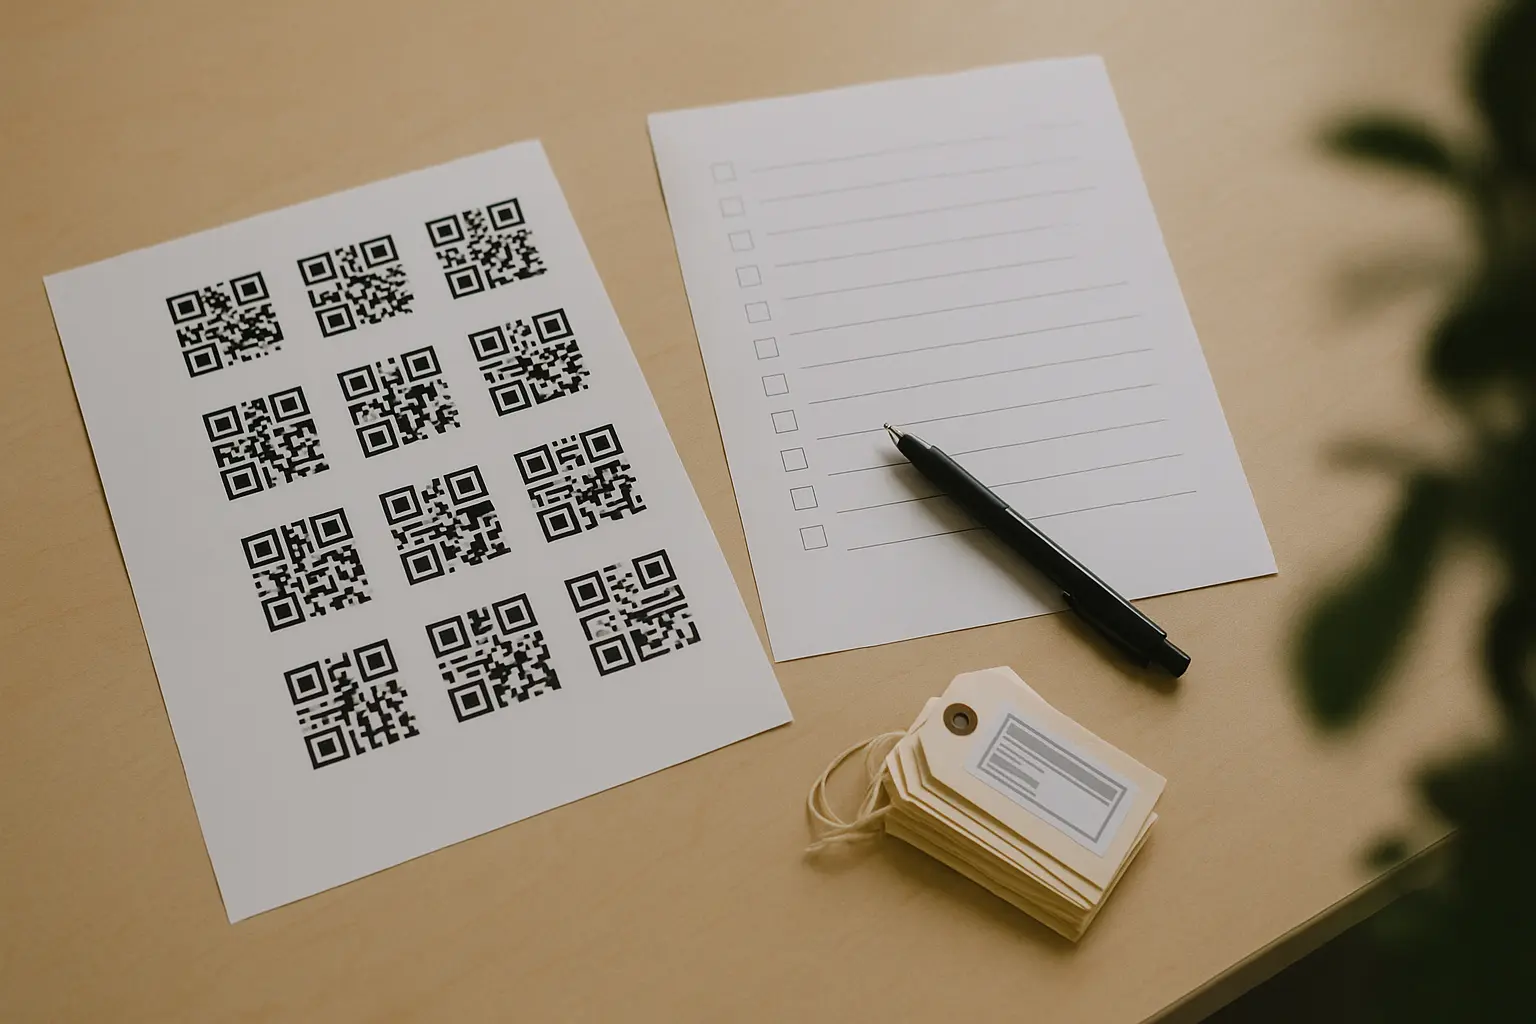
Example sticker sheet layout (8.5×11) with multiple QR stickers
8.5×11 Sheet (Example layout, not to scale)

┌───────┬───────┬───────┐
│  QR1  │  QR2  │  QR3  │
├───────┼───────┼───────┤
│  QR4  │  QR5  │  QR6  │
├───────┼───────┼───────┤
│  QR7  │  QR8  │  QR9  │
└───────┴───────┴───────┘

Notes: Keep cut lines and label edges outside the quiet zone.
Printing methods comparison (home vs thermal vs commercial)
| Method | Best for | Main watch-outs |
|---|---|---|
| Home inkjet/laser on sheets | Small to medium batches, fast iteration | Alignment, smearing, glare, accidental scaling |
| Thermal label printing | High-volume labels, fast monochrome output | Material durability depends on direct thermal vs transfer |
| Commercial printing | Premium materials, large runs, special finishes | Proofing cycle, specs must protect quiet zone |
One takeaway: Choose the method based on quantity, environment, and scan distance, not just convenience.
A practical home workflow:
- Pick a label sheet type and matching layout template for your paper size.
- Place the QR code at 100% size and duplicate it across the sheet.
- Set print options to avoid scaling and preserve crisp edges.
- Print one test sheet, let it dry if using ink, and check alignment.
- Scan several stickers before printing the rest.
Can I print QR code stickers at home? Yes, as long as you generate the code at the final size, keep strong contrast and a quiet zone, and print with settings that preserve sharp edges. Printing a single test sheet and scan-checking it before a full run prevents most waste.
Printing option B: Thermal label printers (direct thermal vs thermal transfer)

Thermal label printers can be a good fit for QR code labels because they produce high-contrast monochrome output with sharp edges. That high contrast is often scanner-friendly, especially for operational labels like bins, shelves, or shipping workflows.
Include the mapped phrase directly: To print qr code stickers with thermal printer, you typically use label software that inserts a QR or barcode object, then binds it to fixed text or variable data.
Direct thermal printing vs thermal transfer printing:
- Direct thermal printing: Prints without ribbon, usually on heat-sensitive media. It can be convenient, but labels can fade with heat, friction, or sunlight depending on the media.
- Thermal transfer printing: Uses a ribbon to transfer ink to the label. It is often chosen for better durability and resistance, depending on ribbon and label pairing.
A typical thermal workflow:
- Choose label stock sized for your use case and confirm it fits your printer.
- In the label software, insert a QR code object (Sometimes listed under barcode objects).
- Set the QR parameters available in the software (Such as error correction level if exposed).
- Print a short strip, then test-scan from the expected distance and angle.
- Adjust size, margins, or density if scans are slow or inconsistent.
Printing option C: Commercial printing for bulk and premium materials
Commercial printing is worth considering when you need long-lasting stickers, premium finishes, or large quantities where reprints would be expensive. It can also help when you need die-cut shapes, outdoor durability, or consistent color control.
This varies by tool. Commercial sticker ordering is sometimes described as providing proofs within 24 hours and delivery in 5 to 7 business days after proof approval. Plan for a proofing loop so you can check size, quiet zone spacing, and legibility before production.
What to specify so the code still scans:
- Final QR code size in real units, plus the required quiet zone area that must remain clear.
- High-contrast printing intent (dark code on light background).
- Material and finish requirements (vinyl, weatherproof options, UV laminate) based on where the sticker will live.
Die-cut and custom shapes can work well if the QR code area stays protected:
- Keep the code away from edges where cuts may drift.
- Avoid die-cut contours that intrude into the quiet zone.
- If adding text, keep it outside the quiet zone and away from finder patterns.
A simple outsource workflow:
- Finalize the QR content, size, and layout with a quiet zone.
- Request or review a proof and verify the printed dimensions.
- Approve only after a scan test of the proof output is acceptable for your distance.
- Confirm material and finish choices match the environment.
- Spot-check the delivered batch before distributing.
Materials and finishes: paper vs vinyl, matte vs gloss
Material choice affects scan reliability over time. Smudges, scratches, fading, and glare can turn a once-scannable code into a problem label.
Include the mapped phrase directly: qr code stickers vinyl vs paper material choices usually come down to durability needs, where the sticker will be used, and whether moisture, UV, or abrasion are expected.
General selection guidance:
- Paper labels: Often fine for indoor, short-term, or low-abrasion uses.
- Vinyl: Often chosen for longer life, moisture resistance, and tougher handling.
Finish guidance:
- Matte: Helps reduce glare and is often easier to scan in bright light.
- Gloss: Can look sharp, but reflection can wash out modules at certain angles.
Weatherproofing and UV:
- Weatherproof materials can help with moisture exposure.
- UV laminate can help slow fading and surface wear in brighter environments.
Adhesive and surface considerations:
- Smooth surfaces usually hold better and scan more consistently because the code stays flat.
- Textured or curved surfaces can distort the grid and reduce scan speed. In those cases, size up and test on the actual surface.
Materials comparison table (paper vs vinyl; matte vs gloss; indoor vs outdoor)
| Choice | Typical fit | Main watch-outs |
|---|---|---|
| Paper | Indoor, short-term labels | Smudging, tearing, moisture sensitivity |
| Vinyl | Higher durability needs | Can cost more, still needs glare control |
| Matte finish | Bright lighting, fast scanning | Can scuff without protection depending on material |
| Gloss finish | Clean look on some designs | Glare risk, angle sensitivity |
| Indoor use | Controlled environment | Still watch abrasion and cleaning chemicals |
| Outdoor use | UV, moisture, temperature swings | Favor durable stock and protective laminate |
One takeaway: If glare or abrasion is likely, choose a matte finish or add protection before you increase complexity elsewhere.
Test scan checklist (do this before printing a batch)
Include the mapped phrase directly: Always test scan printed qr code stickers before you commit to a full sheet, a full roll, or a full commercial run.
Your goal is to test the real system: the printed sticker, on the real surface, under the real lighting, at the real distance. A QR code that scans on your desk might fail on a curved bottle in a bright store aisle.
Use this repeatable QA process:
- Scan with multiple phones if possible and use more than one scanning app or camera app.
- Verify the destination opens correctly and that it is the exact content you intended.
- Check scan speed from the expected distance and at slight angles.
- Inspect print quality for jagged edges, filled-in modules, and any smearing.
- Check finish glare by tilting the sticker under the lighting where it will be used.
Quick checks before bulk printing:
- Scan test before bulk printing.
- Confirm adequate contrast (dark modules on light background).
- Ensure adequate border/quiet zone around the code.
- Use a size appropriate for expected scan distance.
- Check finish glare (especially glossy materials).
- Verify the destination (URL/content) is correct.
Safety reminder for public-facing codes: Be cautious scanning unknown QR codes, and if you are distributing stickers, make the destination clear so users can spot suspicious redirects.
Troubleshooting: why your QR code sticker won’t scan
When a code fails, the cause is usually one of three buckets: size, design, or print/material defects. Fixes are often simple once you map the symptom to the likely cause.
Troubleshooting matrix (symptom → likely cause → fix)
| Symptom | Likely cause | Try this fix |
|---|---|---|
| Won’t scan at all | Too small for distance | Increase printed size or reduce scan distance |
| Won’t scan at all | Quiet zone blocked | Add spacing around the code and remove nearby lines |
| Scans slowly | Low contrast | Switch to darker modules on a lighter background |
| Scans slowly | Glare on glossy finish | Use matte stock or change lighting and angle |
| Misreads or inconsistent | Smearing or filled modules | Change media settings, let ink dry, or use different stock |
| Misreads or inconsistent | Code too dense | Shorten payload or lower error correction if appropriate |
| Works at desk, fails in field | Curved or textured surface | Increase size and test on the real surface |
One takeaway: If you only change one thing first, make the code bigger and keep the quiet zone clean.
More targeted fixes by root cause:
- Too small for distance: Follow the 10:1 guideline and size up for real-world angles.
- Low contrast or inverted colors: Avoid light-on-dark designs and avoid gradients.
- Print defects: This varies by tool. Try higher print quality settings, the correct media type, and disable scaling or fit-to-page.
- Damage and abrasion: If stickers get scraped, choose a tougher material or add protection (like laminate) so finder patterns and modules stay intact.
Batch printing many QR code stickers (spreadsheet workflow)
Batch workflows add a new failure mode: the code scans perfectly, but it is the wrong code on the wrong item. The goal is not just batch generation. It is correct pairing and verification.
Include the mapped phrase directly: To batch print qr code stickers from spreadsheet, you typically start with a list of destinations or IDs in a spreadsheet, generate QR images or a merge-ready file, then place them into a label layout with strict row-to-label alignment.
How do I generate and print QR codes in bulk? Export your destinations or IDs from a spreadsheet, generate QR codes in a consistent format, then merge them into a label layout and print a small sample to verify placement and correctness. After the sample scans cleanly and matches the right items, proceed with the full batch.
Typical inputs for bulk:
- A column of URLs or unique IDs.
- Optional human-readable text to print next to the code (like Item1, Bin-A3, or Asset-007).
A safe bulk pipeline:
- Clean your spreadsheet data so there are no extra spaces, broken links, or duplicates.
- Generate QR codes from the list using a consistent error correction level and format.
- Merge codes into your label layout in a way that preserves ordering.
- Print a small sampling run, then scan each sample and confirm it matches the intended row.
- Only then print the full batch, keeping labels in order to avoid mixing.
Verification habits that prevent rework:
- Print the human-readable ID next to each QR so you can cross-check quickly.
- Keep a scan log for the sample sheet (Even a simple checklist of rows scanned).
- If labels are applied by a team, keep sheets or rolls clearly labeled and sequential.
FAQ: QR code stickers
What size should a QR code sticker be? A common rule of thumb is the 10:1 distance-to-size guideline, with a practical minimum of about 2 cm (0.8 in) square for close-range scanning. If the code is dense, glossy, or placed on a curved surface, go larger.
That sizing works best when print edges stay crisp and the quiet zone is not crowded by text, borders, or cut lines.
Do QR codes need a border/quiet zone? Yes, scanners expect a quiet zone around the code so they can detect the boundary and read the modules correctly. A white border is common, but the main requirement is a clean, light, uniform margin with no competing marks.
If you use a decorative border, keep it outside the quiet zone rather than using it as the quiet zone.
What printer type is best for durability? It depends on the environment and handling. Thermal transfer printing is often chosen when you need tougher labels, while home inkjet or laser on label sheets can be fine for indoor, short-term uses if you protect against smearing and abrasion.
If durability is the priority, material choice (vinyl, laminate) can matter as much as the printer type.
How to keep QR stickers scannable outdoors? Use a material suited for moisture and sun, consider UV laminate, and avoid glossy finishes that can create glare in bright light. Size up to allow for scanning at angles and for minor wear, and test on the real surface under real lighting before producing a full batch.